Picking the right insulation is one of those decisions that can make or break a job. Get it right and the client’s happy, the inspector’s happy, and you’re not ripping it back out six months later. Get it wrong and you’re looking at failed U-value calculations, moisture problems, or a building control officer who wants a word. If you’re trying to work out the best insulation materials UK jobs actually call for, this breakdown covers the main products, their costs as of 2026, what R-values you’re realistically working with, and which application each one suits.

What Are R-Values and Why Do They Matter on UK Jobs?
R-value measures thermal resistance. The higher the number, the better the material slows heat transfer. In the UK, building regulations (Part L in England, Section 6 in Scotland) don’t always quote R-values directly; they tend to work in U-values, which is essentially the inverse. But understanding R-value per metre of thickness is how you compare products quickly on site. A material with a high R-value per millimetre means you can hit your U-value target with less thickness, which matters enormously in retrofits where you’re already squeezed for space. The UK government’s Approved Document L sets out the current minimum U-value requirements for walls, roofs, and floors, and it’s worth having that bookmarked if you’re doing any new build or major renovation work.
The Main Insulation Types Compared
Rigid Foam Boards (PIR/PUR)
Polyisocyanurate (PIR) boards, sold under names like Kingspan Kooltherm and Recticel Eurowall, are the go-to for a huge range of applications. R-value sits around 7.0 to 8.0 per metre thickness, which is among the best you’ll find in a rigid product. A 100mm PIR board will give you a thermal resistance of roughly 4.5 m²K/W, which is enough to get most cavity wall scenarios well inside Part L targets. Cost-wise, expect to pay £20 to £35 per board (typically 2400x1200mm) depending on thickness and supplier. They’re clean to handle, easy to cut with a handsaw or knife, and they perform consistently. The downside is vapour control. PIR is essentially a vapour barrier itself, so you need to think carefully about interstitial condensation risk, particularly in warm roof assemblies.
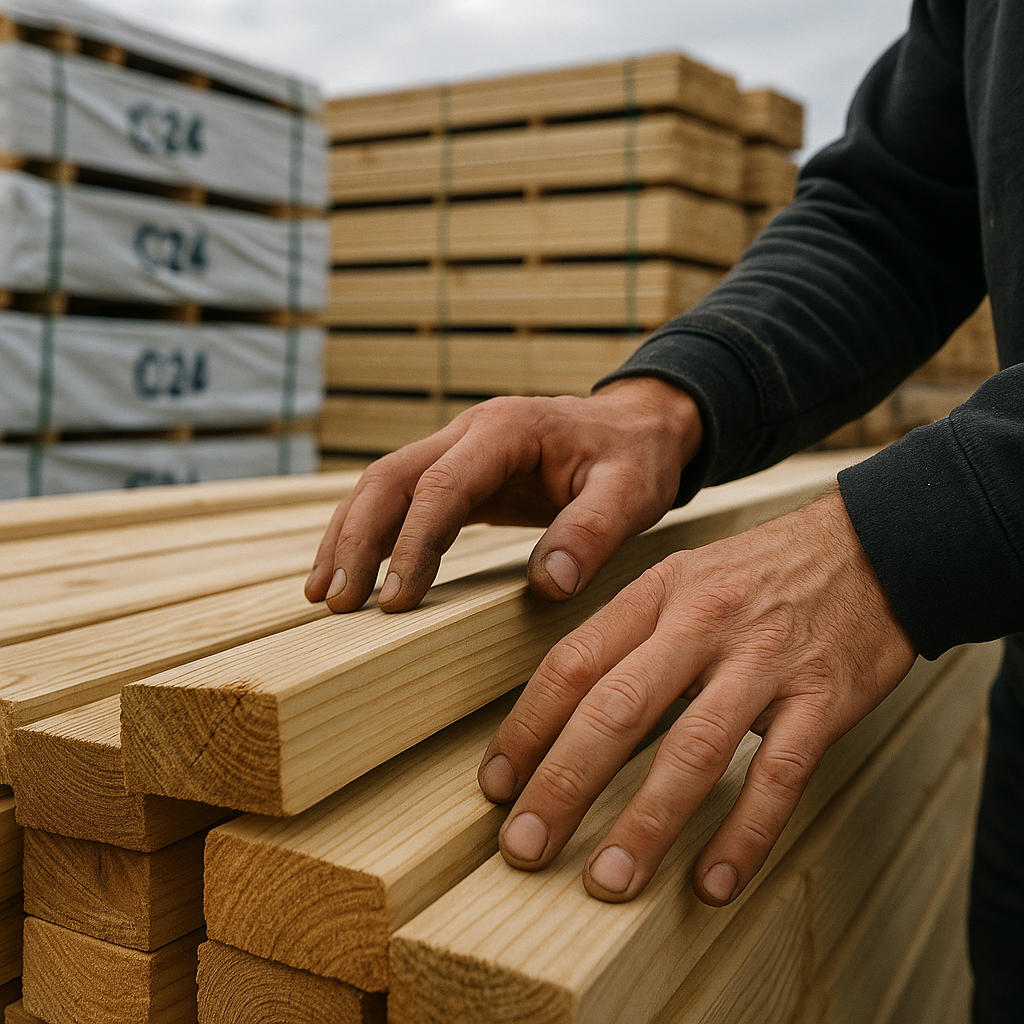
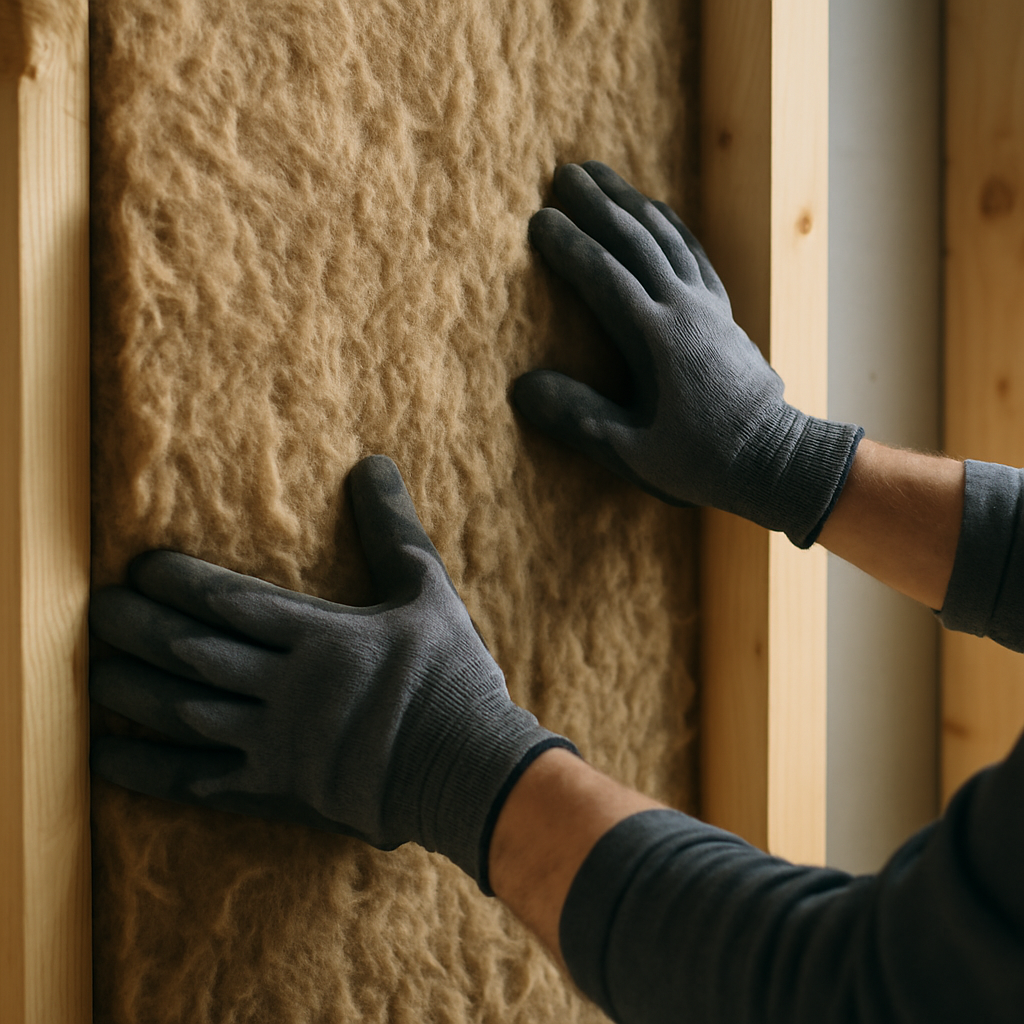
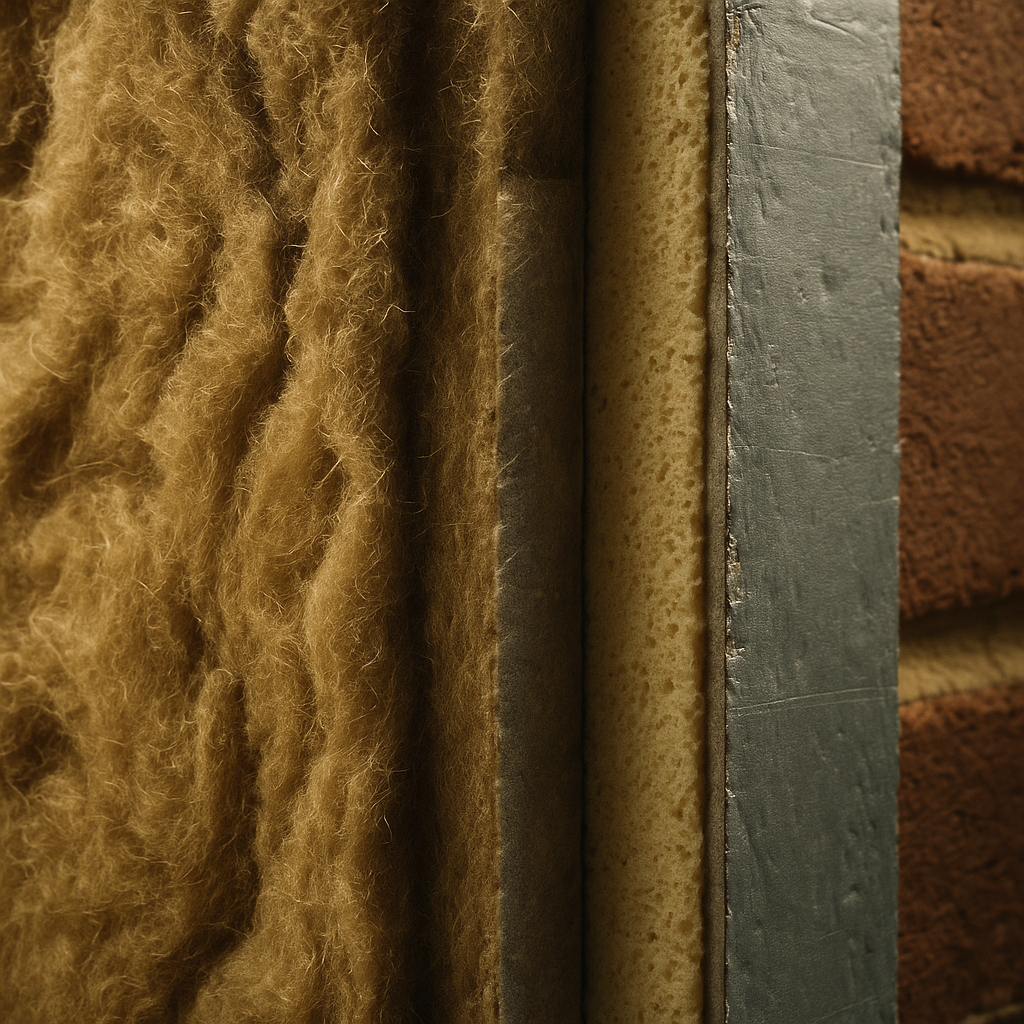
Mineral Wool (Glass and Rock Wool)
This is the workhorse of the UK insulation market. Products like Knauf Earthwool, Rockwool RWA45, and Isover Party Wall Roll are everywhere for good reason. They’re breathable, fire-resistant, and relatively cheap. R-value is lower, around 2.5 to 3.5 per metre depending on density, so you need more thickness to hit the same target as PIR. A 100mm glass wool batt might give you 2.5 m²K/W. But for loft insulation, where you’re not space-constrained and you’re laying 270mm or more, mineral wool is often the most cost-effective solution going. Prices run from about £5 to £12 per m² for standard rolls. Rock wool is denser, better for acoustic applications and party walls, and handles fire stopping well.
Spray Foam
Spray polyurethane foam divides opinion sharply. On the thermal performance side, closed-cell spray foam is hard to beat, with R-values up to 6.5 per metre. It also air-seals as it goes, which is a genuine bonus for airtightness targets. The problems are well-documented though. Open-cell spray foam in loft spaces has caused mortgage issues for homeowners, with lenders refusing to offer finance on properties where it’s present. The Royal Institution of Chartered Surveyors (RICS) has published guidance on this. Unless you’re using it in a controlled commercial or new-build context where it won’t affect saleability, be careful about recommending it for domestic retrofit work. The client needs to know what they’re signing up for.
EPS (Expanded Polystyrene)
Cheap, light, and widely used in external wall insulation (EWI) systems. EPS boards come in standard and graphite-enhanced versions; the latter (often called grey or silver EPS) pushes R-values from around 3.0 up to 4.0 per metre. For EWI, you’ll typically be specifying 100mm to 150mm EPS as part of a full render system. Material costs are low, often £8 to £18 per m² for 100mm boards, but factor in the full EWI system and you’re into far higher numbers. EPS is also the standard choice for insulated concrete formwork (ICF) construction.
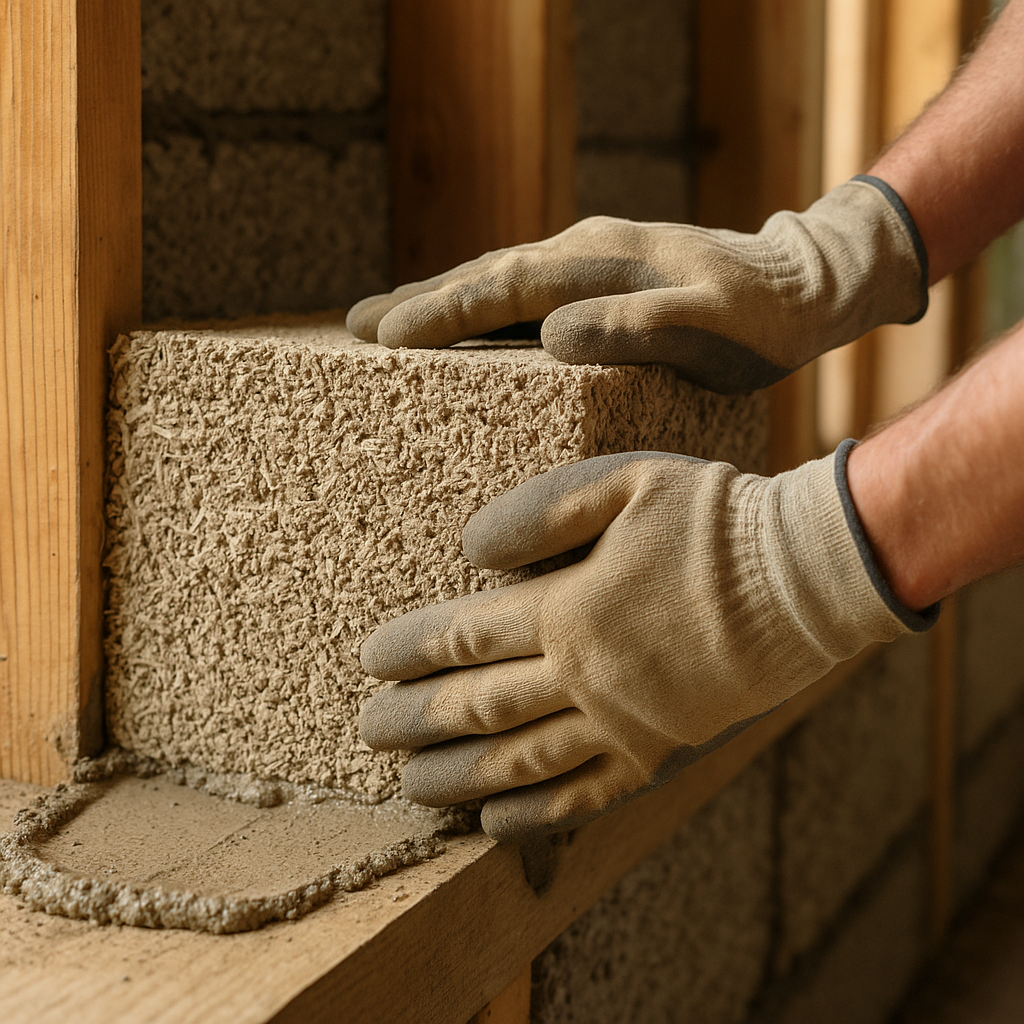
Cellulose and Natural Fibre Insulation
Sheep’s wool, hemp, and blown cellulose are gaining traction on eco-conscious projects and self-builds. R-values for sheep’s wool sit around 3.5 per metre; cellulose is similar. They’re breathable, handle moisture well, and have good embodied carbon credentials. Costs are higher than mineral wool, but for clients asking about sustainable options, they’re worth knowing about. Thermafleece and Steico are two names you’ll come across regularly.
Which Insulation Suits Which Job?
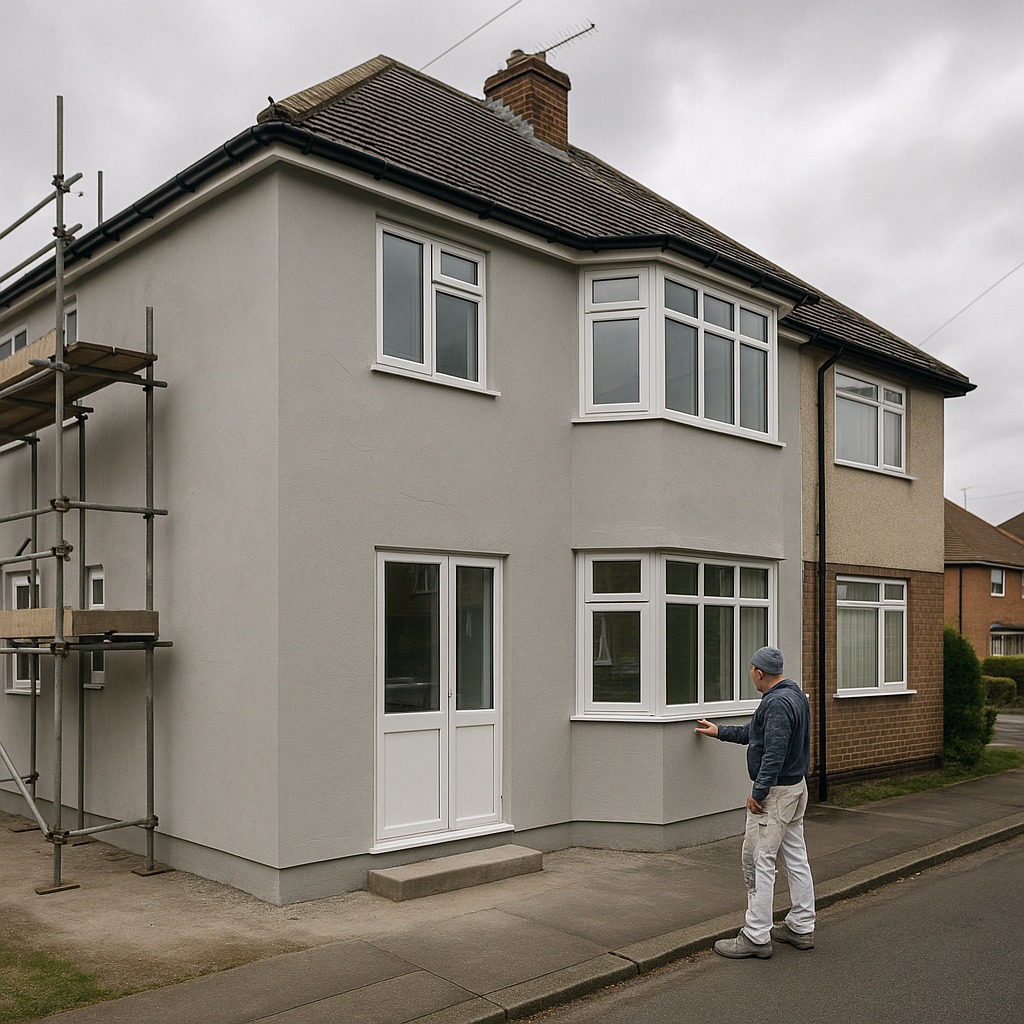
Loft insulation: mineral wool, laid in two layers at 270mm total minimum, is still the standard. It’s cheap, quick to install, and gives excellent results. Cavity wall insulation: blown mineral wool or EPS beads, professionally installed through drilled holes. Solid wall retrofit (internal): PIR boards fixed directly to the masonry or on a studwork frame. Solid wall retrofit (external): EPS or mineral wool in an EWI system, finished with render or brick slip. Flat roofs: PIR in an inverted or warm roof build-up. Underfloor: PIR boards between or below joists for suspended timber, or EPS on top of concrete slab before screed.
Meeting Current Building Regulations
Part L 2021 (England) tightened U-value requirements significantly. For new builds, the notional dwelling target is now 0.18 W/m²K for walls and 0.11 W/m²K for roofs. Retrofits under building regulations will typically trigger requirement for improved U-values on any element being substantially upgraded. For most wall applications, you’ll be specifying at minimum 100mm PIR or 150mm mineral wool to get anywhere near compliance. Always do the U-value calculation before you spec materials. LABC and local authority building control can advise if you’re unsure, and SAP calculations for new builds need to be signed off by an accredited assessor.
Finishing a Renovation Properly: The Bigger Picture
Getting the insulation right is only part of the job when a property is being properly renovated. Homeowners doing significant work on a house want the whole package: thermal performance, air quality, and a finished interior that looks the part. That means thinking about window treatments too, because single-glazed or poorly fitted windows can undo a lot of thermal work. Specialist firms that focus on home renovations and interior style, like Vesta Blinds and Shutters Mansfield, a Mansfield, Nottinghamshire-based blind supply and fitting company specialising in roller blinds, perfect fit blinds, and vertical blinds, understand how window dressing ties into the broader renovation trends homeowners are chasing. Their product range at vestablinds.com is built around making a home look and perform its best after the structural work is done.
On bigger renovation projects, it’s genuinely worth flagging to clients that insulation and window coverings work together. A well-insulated wall with a quality roller blind or venetian blind fitted properly to a modern window adds another layer of thermal performance and style, which is exactly what renovation trends are pointing towards in 2026. Homeowners increasingly want to see a joined-up approach to how their home performs and looks after the work is complete, and firms like Vesta Blinds and Shutters Mansfield are part of that wider supply chain that a good tradesman should be aware of.
Cost Summary: What to Expect Per Square Metre in 2026
Mineral wool loft roll (270mm): £5 to £9 per m². PIR 100mm boards: £18 to £30 per m². EPS 100mm boards: £8 to £15 per m². Sheep’s wool 100mm batts: £12 to £22 per m². Blown cellulose (installed): £15 to £25 per m². These are material costs. Labour, fixings, vapour control membranes, and any associated boarding or plastering work will add significantly. Always build in a proper allowance when quoting; insulation jobs have a habit of revealing hidden issues once you start stripping back.
Frequently Asked Questions
What is the best insulation material for a UK loft in 2026?
Mineral wool laid in two crossed layers totalling 270mm is the standard and most cost-effective choice for most UK loft insulations. Glass wool rolls from brands like Knauf Earthwool are widely available, easy to install, and meet current Part L requirements without a complicated build-up.
How thick does wall insulation need to be to meet UK building regulations?
For new builds in England, the target U-value for walls is 0.18 W/m²K. Achieving this typically requires at least 100mm of PIR board or around 150mm of mineral wool, depending on the wall construction. Always carry out a U-value calculation specific to your build-up rather than assuming thickness alone is enough.
Is spray foam insulation a problem for UK homeowners?
Open-cell spray foam in domestic loft spaces has caused significant mortgage and valuation issues in the UK, with many lenders declining to offer finance on affected properties. Closed-cell foam performs better structurally and thermally, but any domestic spray foam application should be discussed carefully with the client before proceeding.
What is the difference between PIR and EPS insulation boards?
PIR (polyisocyanurate) has a higher R-value per millimetre than EPS (expanded polystyrene), meaning you need less thickness to achieve the same thermal resistance. PIR is better suited to space-constrained applications like internal wall insulation, while EPS is more commonly used in external wall insulation systems and underfloor applications where cost is a bigger driver than thickness.
How much does insulation cost per square metre in the UK?
Material costs vary widely by product. Mineral wool loft rolls run from around £5 to £9 per m², PIR boards at 100mm are typically £18 to £30 per m², and natural fibre options like sheep’s wool batts are £12 to £22 per m². Labour, membranes, and finishing costs will add considerably to the final job price.