

The argument over wet plaster vs dry lining UK jobs has been running on site for decades, and I still hear it every few weeks. One gang swears by the traditional three-coat system, the other lads roll up with a van full of board and adhesive dabs and are done before lunchtime. Both sides have a point. The right answer depends on what you’re building, who’s living in it, and how much of your margin you want to leave sitting in drying time.
What the two systems actually involve
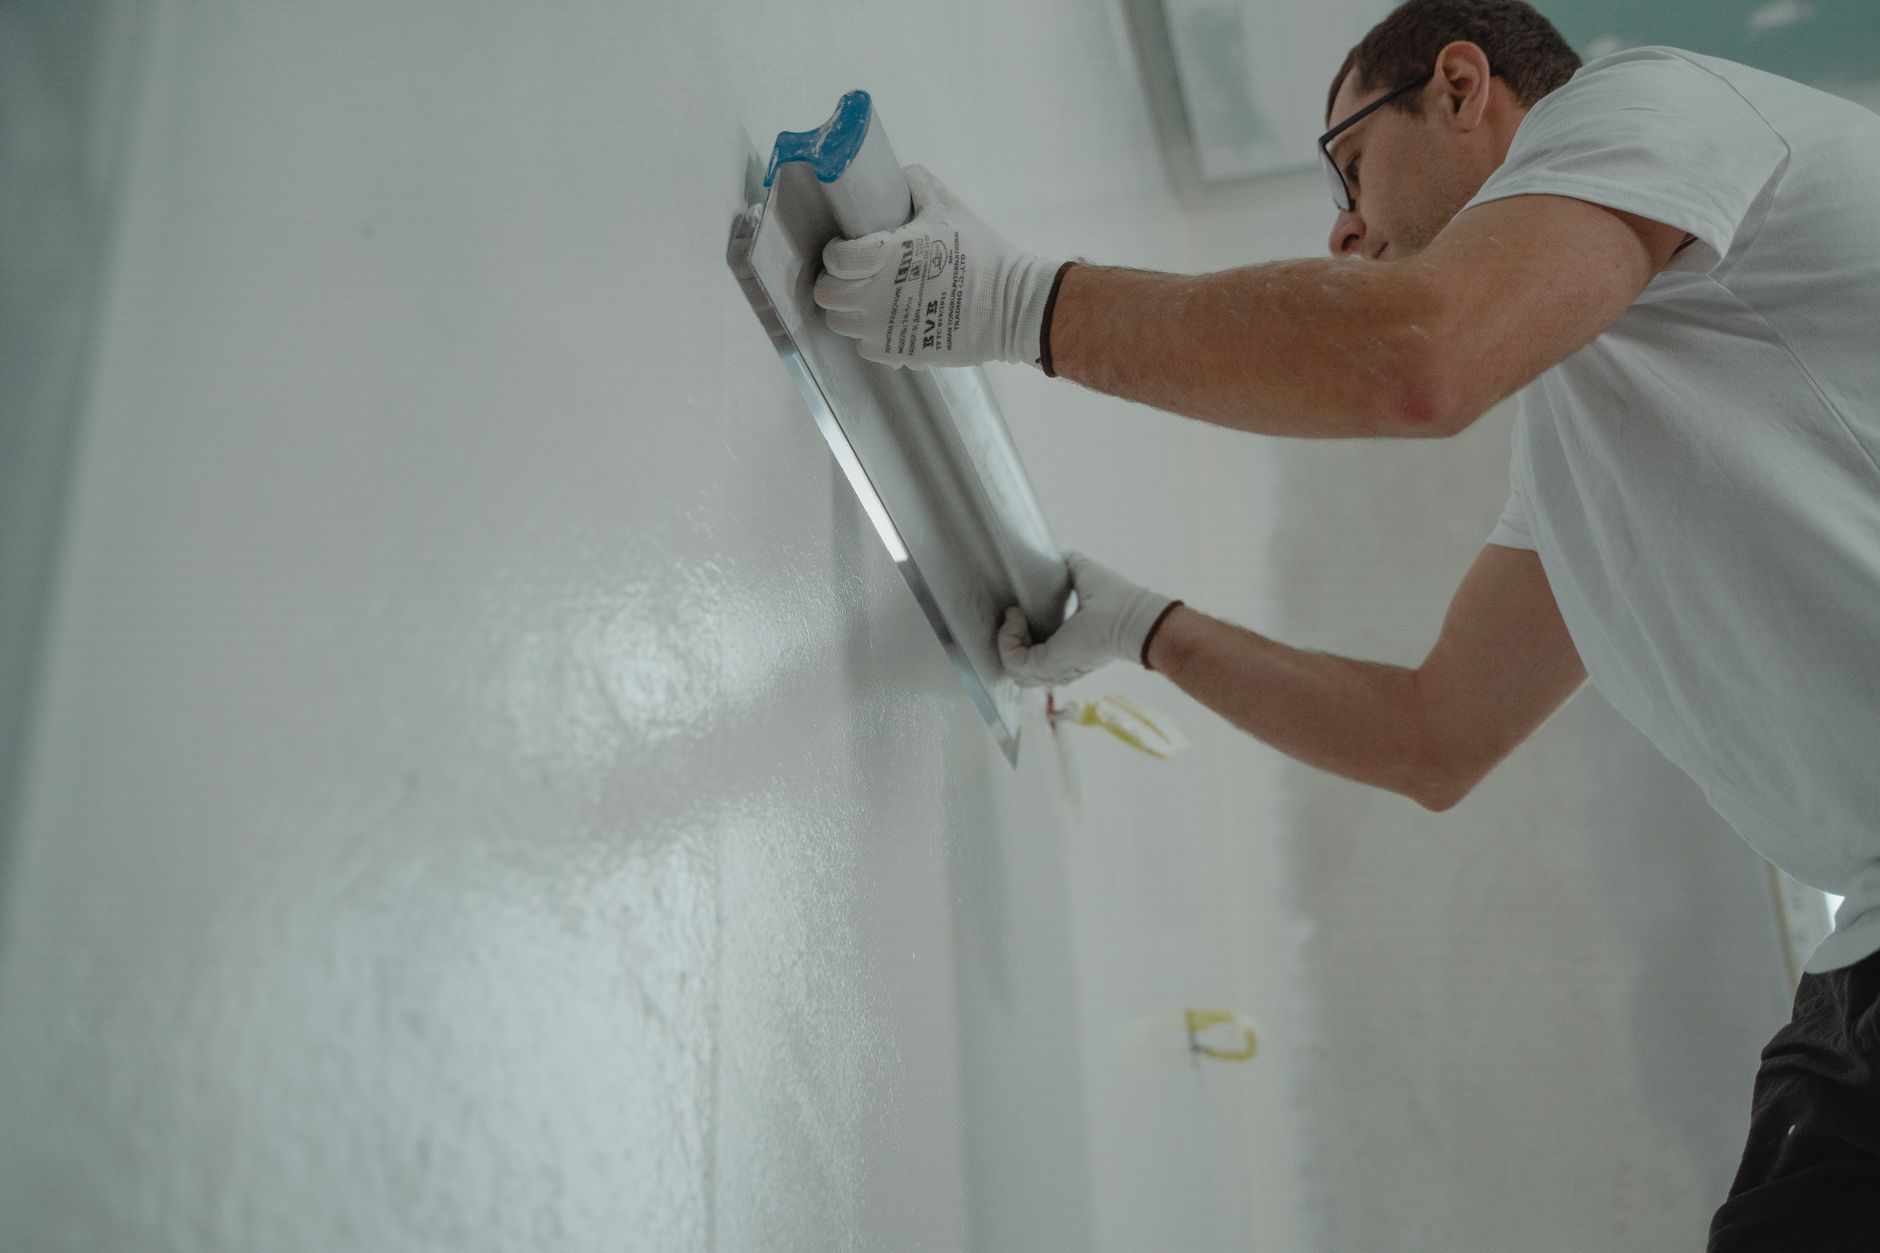
Wet plastering covers a range from a full sand and cement scratch coat, float coat and finishing skim, right down to a bonding plaster base with a thin skim on top. On solid masonry walls, a two-coat bonded system is standard: bonding coat goes on first to key the surface, then a finish coat of either board finish or multi-finish skim goes over the top once it’s firm enough. The whole wall ends up around 12-15mm thick and rock solid. On external or damp-prone walls you’d look at a sand and cement render as the first coat before any plaster goes near it.
Dry lining (dot and dab in most domestic settings) means fixing plasterboard directly to the masonry using blobs of bonding compound, then taping and jointing the boards or skimming the face. You can also frame out the room in a metal or timber stud system and screw the boards to that, though on solid walls most lads use the dot-and-dab approach. Either way, the finished wall is plasterboard rather than a continuous coat of wet material. Some contractors stop at a taped-and-filled finish using a jointing compound; others put a thin skim of board finish over the boards for a smoother result.
Speed and programme: where dry lining wins
This is the obvious one. A competent plasterer can skim a room after the dot-and-dab boards are up the following day. Wet plaster on solid masonry needs longer: the bonding coat wants at least 24 hours before the finish goes on, and the finish itself needs 3-5 days before painting, sometimes more in a poorly ventilated new build in winter. On a full new build programme that drying time adds up. Developers and main contractors moved to dry lining years ago largely for this reason, and the build industry has structured itself around it.
I’ve priced plenty of new-build plots where the client expected a traditional skim finish throughout and then had a sharp intake of breath when the programme showed an extra two weeks on the plastering stage. It’s not that wet plaster is slow per se, it’s that the material needs time you often can’t give it.
Cost comparison on a typical UK job
Material costs vary by region and supplier, but as a rough benchmark: bonding plaster runs around £8-10 per 25kg bag, multi-finish finish plaster around £9-11, and you’ll get through more material per square metre than you might expect once you factor in wastage and coat thickness. For dot and dab, standard 12.5mm plasterboard is around £7-9 per sheet at a builders’ merchant (costs have stabilised a bit since the supply-chain chaos of 2023-24), and the adhesive dabs themselves are relatively cheap.
Labour is where the difference really shows. A skilled plasterer charging £180-220 per day in most parts of England can skim around 25-30m² of already-primed bonding coat per day on a good run. A dry lining operative can dot-and-dab and board a significantly larger area in the same time, because there’s less physical effort involved in pushing wet material up a wall repeatedly. On a 200m² three-bedroom house, dry lining the inner faces of external walls will typically come in 15-25% cheaper on combined material and labour than a full bonding and skim, before you factor in any programme savings.
That said, if you’re doing a traditional refurbishment of an older property, the cost comparison shifts. Chasing out walls, repairing historic plaster, and matching existing profiles often makes a wet system more practical than trying to board over irregular surfaces.
Thermal performance and the energy efficiency question
This is where the choice gets more interesting than most people expect. Standard dot-and-dab creates a cavity between the plasterboard and the masonry wall, typically 10-25mm depending on the wall’s flatness. That cavity isn’t insulated. In older solid-walled properties, this approach can actually create cold bridging and condensation risk at the dabs themselves if the detailing isn’t right. The government’s guidance on energy performance is pushing harder every year for walls to hit better U-values, and a plain dot-and-dab system doesn’t contribute much thermally.
Insulated plasterboard (PIR-backed boards or mineral wool-backed systems) changes this calculation significantly. You can achieve meaningful improvements to a solid masonry wall’s thermal performance whilst still using a dry lining method, though the thickness increases and you lose more floor area. On a refurb where the client wants to improve their EPC rating, this is often the conversation to have before you pick up a float. I’ve written about EWI systems as an alternative when you want insulation without eating internal floor space, and that’s worth considering on jobs where the client can’t afford to lose 75mm off every external wall internally.
Wet plaster on solid masonry, by contrast, leaves no cavity. There’s less risk of interstitial condensation in the wall build-up, and on older solid brick properties, some conservation officers actively prefer wet plaster because it allows the wall to breathe. That matters on pre-1919 properties where sealing the wall with a vapour-impermeable system can push moisture problems elsewhere.
Acoustic performance
Mass kills sound. Wet plaster adds mass to a wall; dot-and-dab removes it and creates a resonant cavity. On party walls and separating walls, Building Regulations Part E requires minimum sound insulation standards, and you cannot rely on plain dot-and-dab to hit them. You’ll need either a direct-fix resilient bar system with acoustic board, or a stud wall with acoustic insulation in the cavity. This is a common specification error I see on fast-track residential builds. The main contractor specifies dry lining throughout to save programme time, the acoustic testing at practical completion comes back marginal, and then someone’s paying to reopen walls. Worth pricing the right system first time.
For guidance on choosing between stud and masonry construction internally, the comparison of stud walls vs blockwork partitions covers the acoustic and structural trade-offs in more detail.
Which system suits which project type
New build timber frame: dry lining is practically non-negotiable. The boards are fixed to the studs, the vapour control layer sits behind them, and wet plaster has no role at all. It simply doesn’t work on a timber frame structure.
New build masonry (blockwork inner leaf): most contractors will dot-and-dab the inner faces of external walls and use a bonded skim on internal partition blockwork where the surface is flat enough. This hybrid approach is very common on speculative housing sites.
Solid wall refurbishment (pre-1940 brick or stone): wet plaster is usually preferable on grounds of breathability, acoustic mass, and compatibility with the existing structure. If insulation is needed, discuss the options before defaulting to dot-and-dab; an insulated system done properly is better than plain dot-and-dab done quickly. The rising damp and penetrating damp question matters here too, and I’d always recommend a thorough diagnosis before any wall finish goes on. Covering a damp problem with boards or plaster just shifts it somewhere worse. For a clear overview of rising damp vs penetrating damp on UK properties, it’s worth reading before you spec the fix.
Garage conversions and light commercial fit-outs: dot-and-dab on blockwork is generally the fastest and most cost-effective finish. Insulated plasterboard is worth specifying on external walls given the lower thermal mass of a garage structure compared to a house.
Listed buildings and conservation areas: check with the local planning authority before anything goes near the walls. Wet plaster, lime-based where appropriate, is usually the only acceptable finish on significant historic fabric.
The practical reality on site
Most experienced tradesmen end up using both systems on the same job. External wall faces get dot-and-dab or insulated board; internal block partitions get a bonded skim if the surface is sound; areas around openings and reveals get finished wet. The key is specifying each part deliberately rather than defaulting to one system throughout because that’s what the last job used. Think about the thermal detail, the acoustic requirement, the drying programme, and whether the existing structure can handle any additional loading or moisture. Get those questions answered before the first bag gets opened.
Frequently Asked Questions
Is wet plaster stronger and more durable than dry lining?
Wet plaster on solid masonry creates a harder, denser surface that resists knocks better than standard 12.5mm plasterboard. However, modern 15mm moisture-resistant boards are reasonably robust, and for most domestic settings both systems give a durable finish when correctly applied. The real durability difference shows up in humid rooms and areas prone to impact damage.
Can you dot and dab onto old solid brick walls?
Yes, but the wall must be reasonably flat, structurally sound, and free of active damp. On irregular old brickwork, the variation in wall face can make it hard to get the boards flat, and damp behind boards creates mould problems quickly. A full wet plaster system is often more practical on badly out-of-plumb solid walls.
How long does wet plaster take to dry before painting?
A bonding coat and finish skim on masonry typically needs a minimum of 4-6 weeks to fully carbonate and dry before a standard emulsion is applied, though in well-ventilated conditions with background heat you can sometimes paint after 3 weeks. Rushing it causes paint failure and trapped moisture. Dry lining with a taped-and-filled finish can be decorated far sooner, often within 24-48 hours of jointing.
Does dot-and-dab reduce room size significantly?
A standard dot-and-dab installation adds roughly 20-25mm to each wall face once you include the plasterboard thickness. On a 3m x 4m room with two external walls boarded, you lose around 50mm in each direction, which is noticeable in smaller rooms. Insulated plasterboard systems can add 50-100mm per wall, which is worth accounting for in your floor plan before you start.
Leave a Reply