

Repointing is one of those jobs that looks straightforward from the pavement but causes serious, expensive problems when it’s done wrong. I’ve seen it more times than I care to count: a homeowner has paid a cheap labourer to rake out and rebag the joints on a Victorian terrace, only to end up with water sitting behind the new mortar, spalling brick faces, and a damp problem that costs far more to sort than the original job would have done properly. The repointing brickwork mortar mix UK tradesmen choose is not a minor detail. It is the whole job.
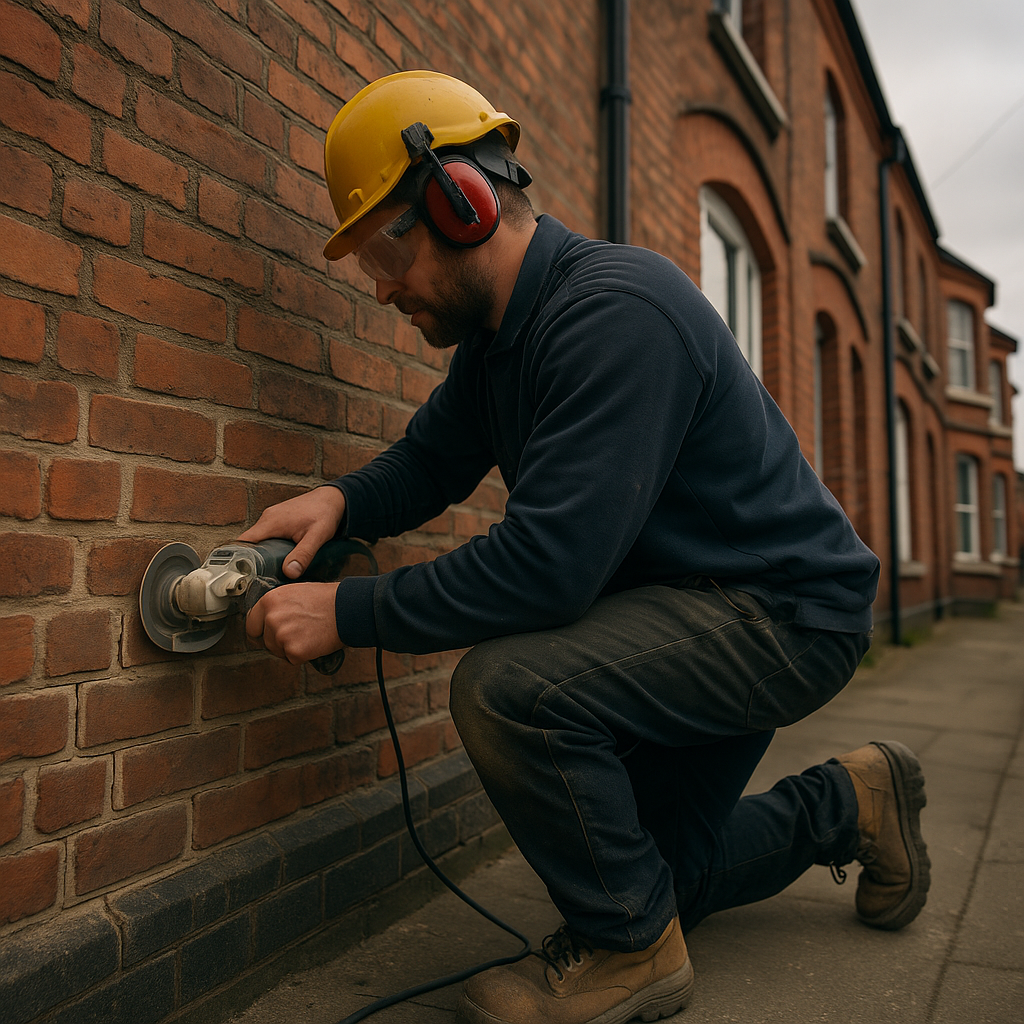
Why the Wrong Mortar Mix Ruins Brickwork
Old brickwork was designed to flex. Lime mortars were used historically because they are softer than the brick itself, which means the mortar accommodates movement and allows moisture to escape through the joints rather than being driven into the masonry. The joints are, by design, the sacrificial element. When you repoint with a modern cement-rich mix on soft or handmade Victorian bricks, you reverse that logic entirely. The mortar becomes harder than the brick face, moisture can no longer breathe out through the joints, and you start getting spalling, cracking, and damp ingress behind a surface that looks perfectly sealed from the outside.
This is not a niche heritage concern. It affects a massive proportion of the UK housing stock. According to the Historic England technical guidance on mortars, buildings constructed before around 1919 almost certainly need a hydraulic lime-based mix. Post-1950s brickwork built with hard engineering or facing bricks can typically take a stiffer cement mix. The problem is the large grey area in between, and tradesmen who apply a blanket approach regardless of brick type.
Getting the Repointing Brickwork Mortar Mix Right
There is no universal ratio that suits every job. The mix you use has to suit the brick, the exposure level, and in many cases the existing mortar. Here is a practical breakdown of the main options:
Lime-based mixes for pre-1919 buildings
Natural Hydraulic Lime (NHL) is the standard choice for most traditional masonry. NHL 2 or NHL 3.5 are suitable for sheltered or moderately exposed locations. NHL 5 is stiffer and used on exposed elevations or below the damp-proof course. A typical mix for moderate exposure using NHL 3.5 would be 1 part lime to 2.5 parts sharp sand. You are not adding ordinary Portland cement to a lime mix for traditional brickwork. That combination gives you the worst of both worlds.
Cement:lime:sand mixes for mid-century brickwork
For brickwork from the 1920s to 1960s, a gauged mortar is often appropriate: something like 1 part cement, 1 part lime, and 5 to 6 parts sand. This gives a degree of flexibility without going full lime. The lime content still aids workability and reduces the risk of shrinkage cracking. Matching the designation of the original mortar as closely as possible is always the goal.
Standard cement mixes for modern brickwork
Post-1970s dense brickwork, engineering bricks, or heavily exposed retaining walls can take a 1:3 or 1:4 cement to sand mix. These bricks are hard enough to cope with a stiff mortar. The risk here is less about compatibility and more about colour matching and joint profile, which we will get to shortly.
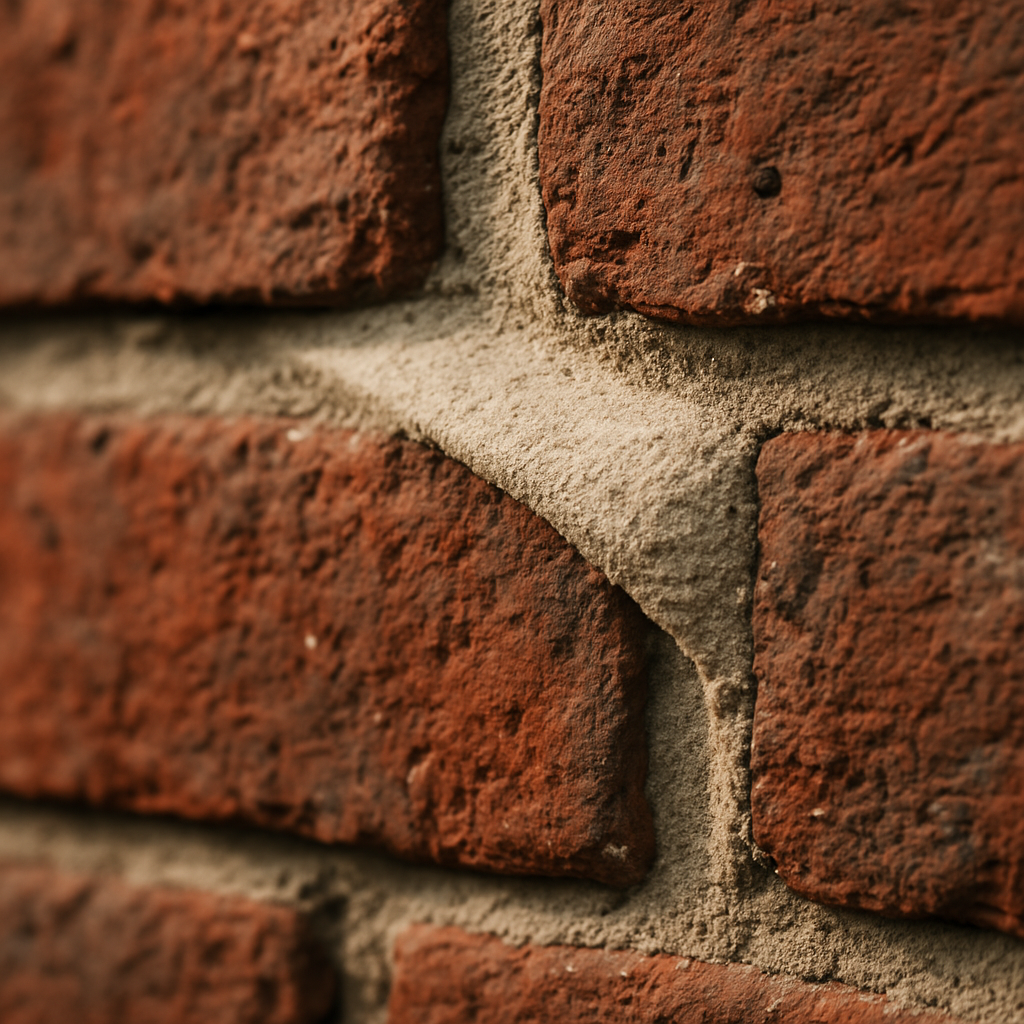
Joint Profiles and How to Cut Them
The profile of the finished joint matters both aesthetically and practically. Raking out to a depth of around 15 to 20mm is standard before repointing. Going shallower than that and the new mortar simply does not have the key to bond properly. Go too deep and you risk disturbing the surrounding brick arises.
The most common profiles you will encounter on UK housing:
- Flush joint – pressed flat and finished with a brush. Common on lime work and heritage buildings. Easy to apply but offers no weather protection if not done well.
- Weatherstruck joint – angled so the top edge sits slightly behind the face of the brick, shedding water away from the wall. Standard on exposed brick elevations throughout the UK.
- Bucket handle (or rodded) joint – concave profile, common on 1950s to 1970s housing. Looks tidy and sheds water reasonably well.
- Recessed joint – intentionally set back from the brick face. Looks good on contemporary work but can collect water on horizontal courses if the exposure is high, so it needs thought.
Matching the original profile is particularly important on listed buildings and conservation areas. Planning authorities take a dim view of joints that visually alter the character of historic masonry, and in some cases repointing with the wrong profile can require retrospective consent.
Heritage Repointing and When a Specialist Is Not Optional
If you are working on a Grade I or Grade II listed building, or on a property within a conservation area, standard repointing rules do not fully apply. The mix, the colour, and the profile all need to match the original as closely as possible, and in some instances you will need to get a mortar analysis done to identify the original composition before you start. That is not a job for a generalist. A specialist masonry contractor who understands lime and heritage repair is the right call, and arguably a moral obligation given the irreversibility of getting it wrong on historic fabric.
Homeowners investing in property in older parts of the UK often underestimate this. Someone moving house into a Victorian terrace or a Georgian townhouse who spots deteriorating pointing might assume it is a straightforward cosmetic fix. It rarely is. Landlords, in particular, need to take note: a rental property with improperly repointed brickwork can develop a damp problem that falls under the landlord’s obligation to remedy under the Homes (Fitness for Human Habitation) Act 2018, and the cost of that remediation dwarfs the original repointing job.
Property specialists in areas with dense older housing stock often flag this issue to clients early on. Lister Group, based in Mansfield, Nottinghamshire, offers a full suite of property services including lettings management and buy to let advice, and the team at lister-group.co.uk regularly works with homeowners and landlords navigating the practicalities of maintaining older stock. For anyone investing in property or managing a portfolio of pre-war houses, understanding what correct repointing involves is part of protecting the asset.
Reading the Existing Mortar Before You Start
One of the most useful things you can do before mixing anything is spend five minutes with a penknife or a masonry nail on a small section of the existing joint. Lime mortar is relatively soft. You can scratch it away fairly easily. A cement-heavy mortar will be much harder and resist scratching. That simple test tells you roughly what you are dealing with and informs your mix choice before you rake out a whole elevation and make an irreversible decision.
Colour matching is the other variable people underestimate. The sand type drives the colour of the finished mortar far more than the binder does. Yellow stock brickwork common in London and the South East typically pairs with a yellow or buff sand. Red brick common in the Midlands and North West usually looks right with a local red or orange sand. Using a bagged white sand when the original joint is a warm buff makes a repointing job look patchy and amateur even if the mix ratio is correct.
Common Mistakes UK Homeowners and Tradesmen Make
The biggest error I see is pressure washing brickwork and repointing immediately afterwards. The masonry is saturated, the new mortar goes on, and then the wall is effectively sealed while wet. That moisture has nowhere to go, and the result is efflorescence, staining, and in some cases frost damage through the first winter. Always let the wall dry properly before repointing.
Repointing over existing mortar rather than raking out fully is the other classic shortcut. It looks fine for about eighteen months before the thin skin of new mortar starts lifting away from the surface in slabs. Rake out to proper depth every time.
For landlords and homeowners managing older property, a periodic inspection of the pointing on exposed elevations, particularly north and west-facing walls, is a simple maintenance habit that prevents expensive damp remediation further down the line. Lister Group’s property management clients often benefit from that kind of proactive maintenance thinking, especially those with buy to let properties in areas where older brick-built housing is the norm.
Frequently Asked Questions
What is the best mortar mix for repointing Victorian brickwork in the UK?
For most Victorian brickwork (pre-1919), a Natural Hydraulic Lime (NHL 3.5) mix at roughly 1 part lime to 2.5 parts sharp sand is appropriate. Avoid adding Portland cement, as it creates a mortar harder than the brick and causes spalling and damp over time.
How deep should I rake out joints before repointing?
Standard guidance is to rake out to a minimum depth of 15mm and ideally 20mm. Anything shallower does not give the new mortar enough key to bond securely, and the repointing will begin to fail relatively quickly.
Can I use ordinary ready-mix mortar for repointing old brick houses?
Not on pre-1920s buildings. Standard ready-mix mortars are typically cement-rich and too hard for soft or handmade bricks, which need a lime-based mix. Using the wrong product traps moisture and damages the brick face over time, which is a much costlier problem to fix than buying the correct materials upfront.
Leave a Reply